How to replace a background in Photoshop Tutorial

Learn the quickest and best way to cut out a photo and put it on a different background in Photoshop. This Photoshop tutorial uses Select and mask in Photoshop CC.
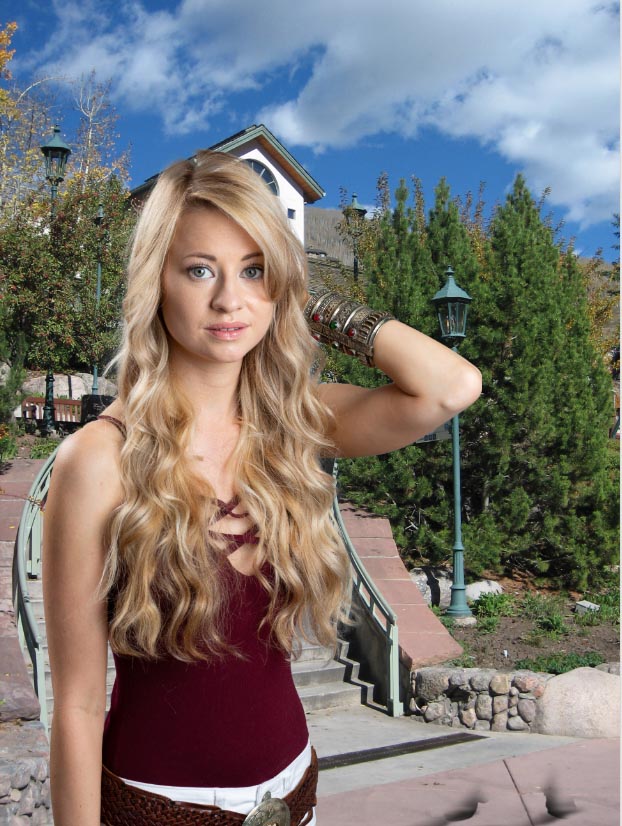
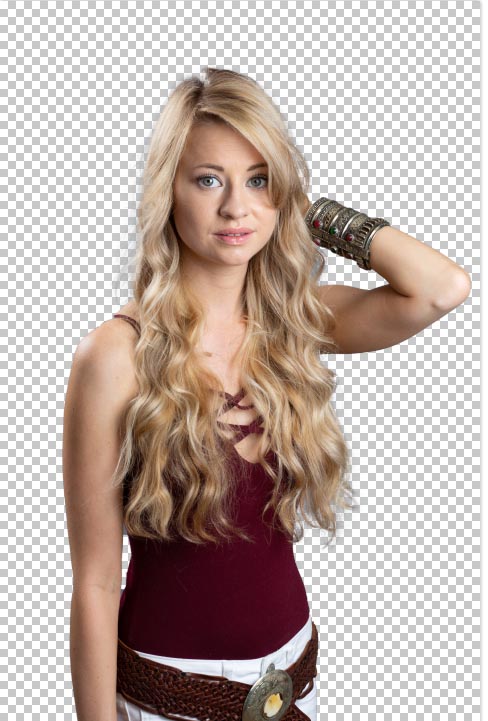
In this case, I shot the model, Callan against a seamless background made of gray Savage paper. I recommend using a simple background if you know you are going to cut out the photo. If you have a complex background, use this tutorial, on cutting out difficult images.

© Colin Smith Photography
Step 1
Choose the quick selection tool
Step 2
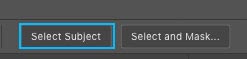
Click on Select Subject in the top (if CC 2019 or newer), otherwise select with the quick selection tool
Step 3, refine the selection
Use the quick select brush to add to the selection by using a small brush and clicking on areas to add to the selection. To deselect areas, hold down the alt/option key and use the quick select brush.


Step 4
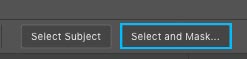
Click on Select and Mask
Note the view and Opacity settings I have chosen to show the cutout on a white background.

Step 5
Turn on Show edges
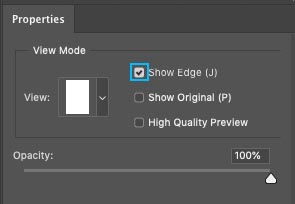
Adjust the radius until you see a thin outline.
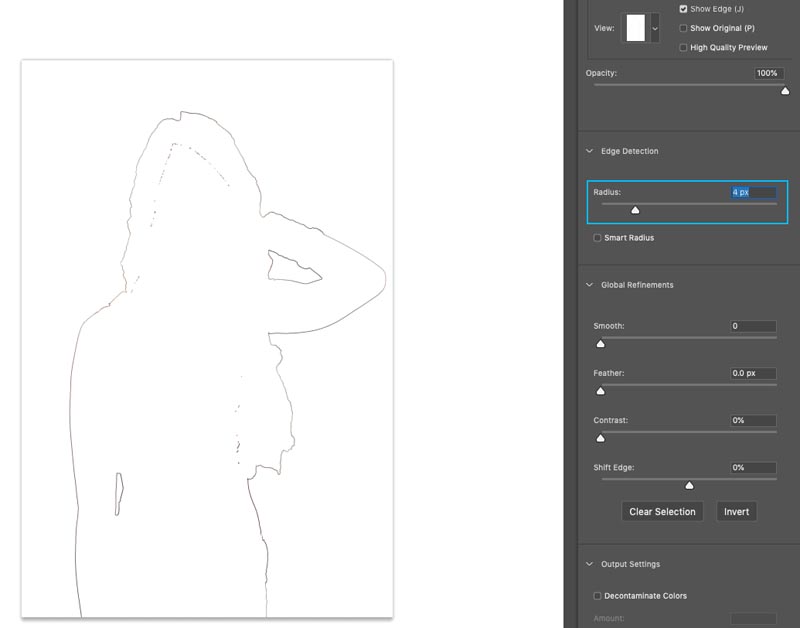
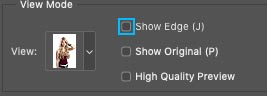
Turn off “Show Edges”
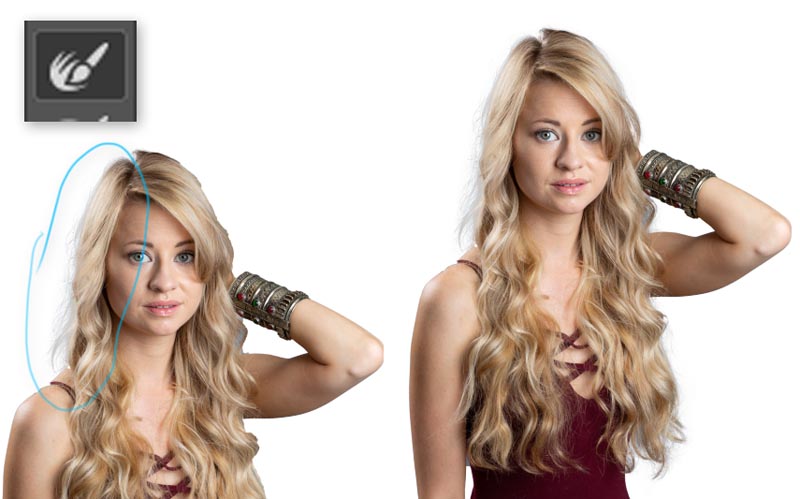
Step 6
Use the refine brush around the hair 
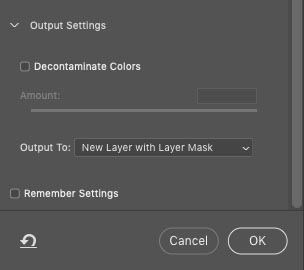
Step 7
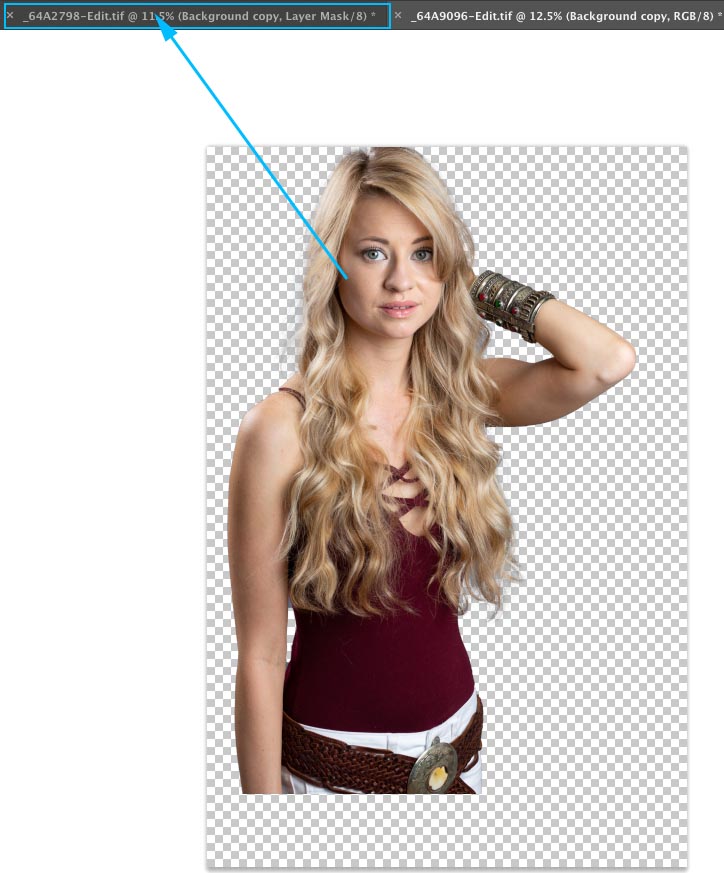
Choose New Layer with Layer Mask from the options
Click OK
Step 8
Open the image with the new background
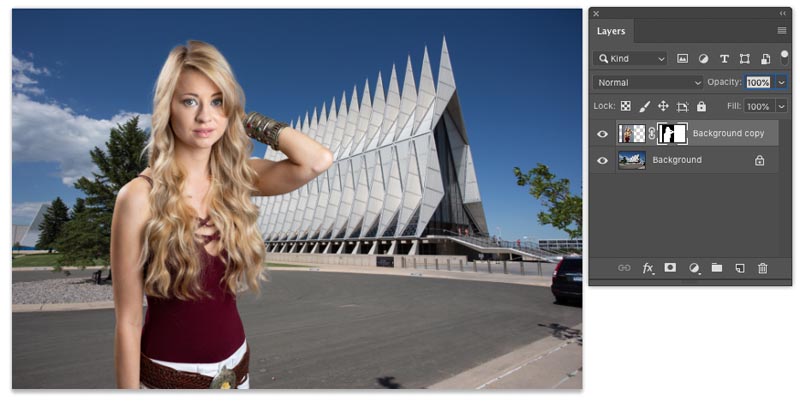
 @ Colin Smith Photography Step 9
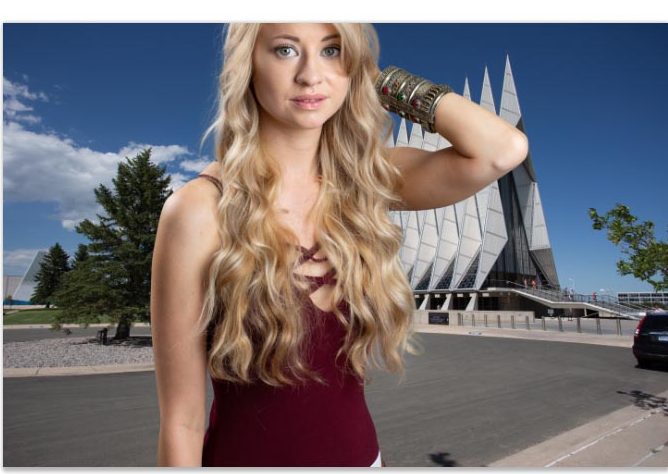
Go back to your cutout image
Make sure you have the layer selected and not the mask.
Drag into the menu tab for the new background (don’t let go yet) wait for the window to open
Drop the photo on the new background. (If you are stuck on this step, see this tutorial)
Step 10
Press Ctrl/Cmd+T for free transform
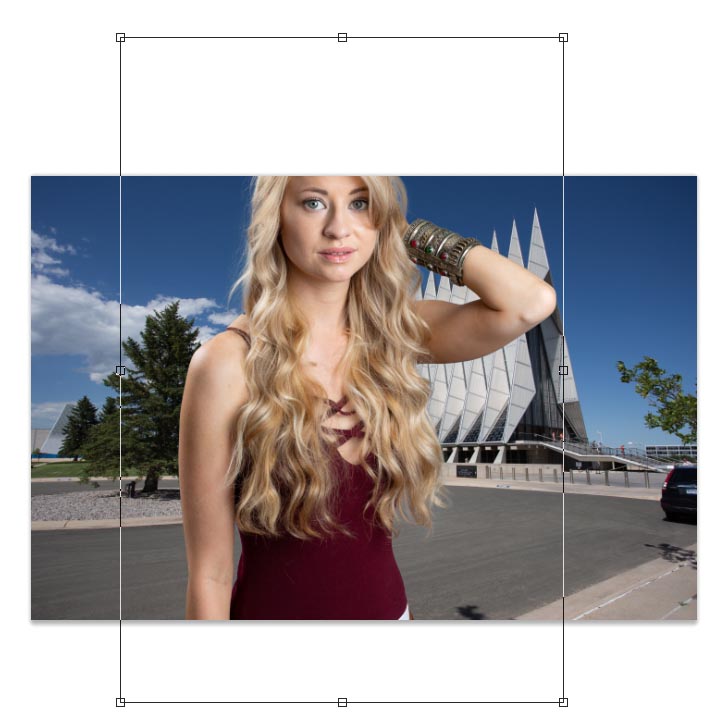
Position, Scale and rotate the layer to fit the background.
Try it against some other backgrounds if you like.